
How I use VSCO & Lightroom.
Film is dead!
First of all, it's not. Secondly - VSCO does a pretty damn good job of imitating it.
Whenever I travel - I take my 35mm Canon AE1. It's a wonderful companion, and on the whole pretty reliable. Capturing memories on film will always be preferable to me. They are the kind of photos you anxiously wait to see if they develop properly. They get put up on your wall for you to reminisce over, not online for the sake of "likes" and comments. They are probably the most prized personal possessions I have.
And of course - they have something special about them aesthetically. That film grain that you cant get from digital, those artifacts on the image caused by a fleck of dust on the sensor or a chip in the lens - all adding to the character. While you can strive for perfection and clarity in digital, film provides something that digital can not always fulfill. That, for me, is a tone of colours and imperfections that give personality and meaning to an image - making it a memory and not just a photograph.
So now that I have done the romanticising of film, let's talk about how we can emulate it using VSCO and Adobe Lightroom.
There are obvioulsy countless different film emulation software packs, but I have found VSCO to be on point and not wished to stray from it.

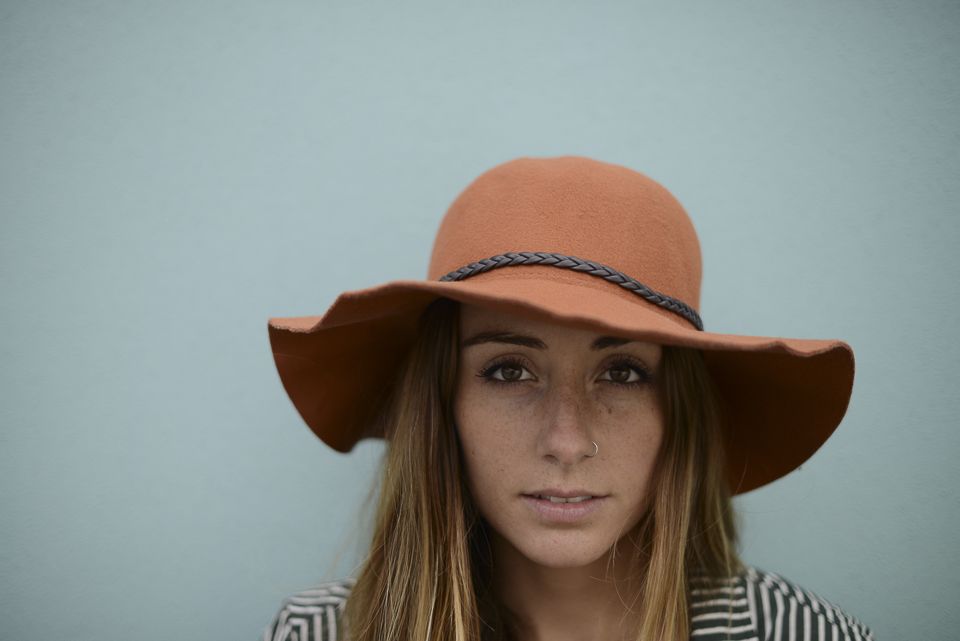
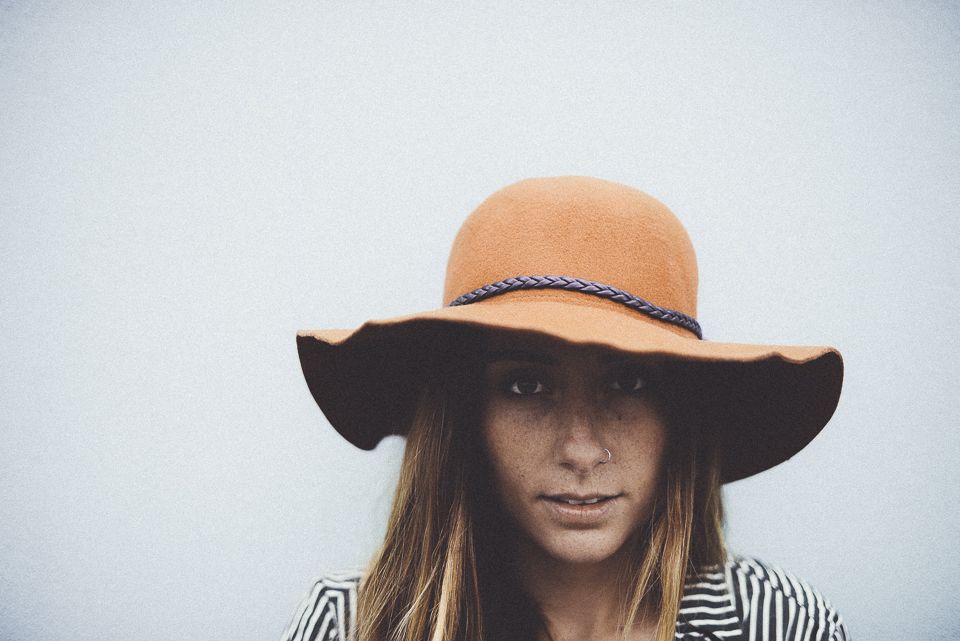
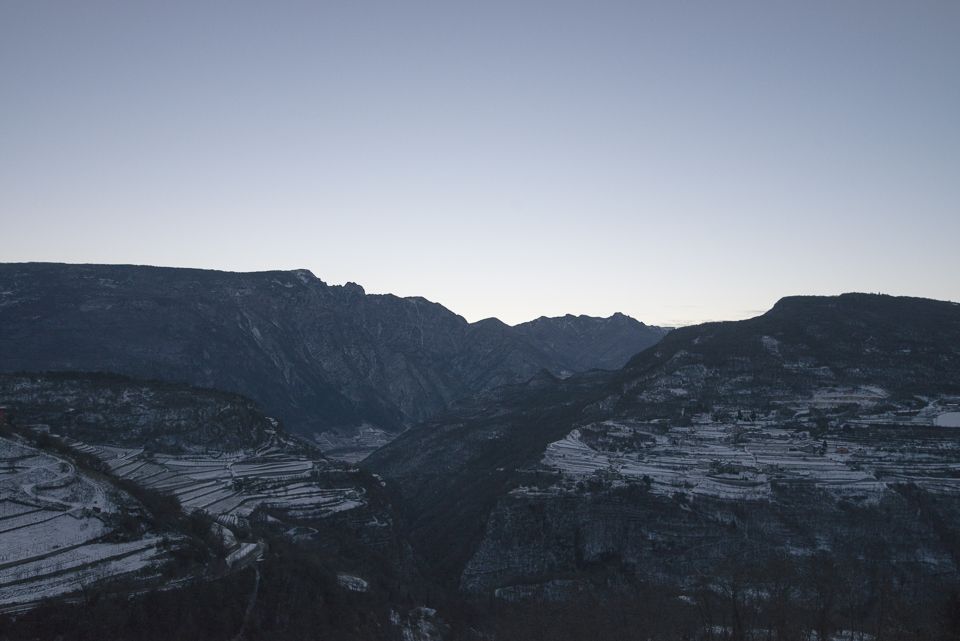
One of my favourite VSCO edited images. Be sure to check out the blog post on exposure and highlights to find out more.
The first step would be to head over to VSCO by going to https://vsco.co/store
Once you've downloaded your preset pack of choice (this may take some time as their are quite a few options all emulating different types and eras of film!) you will need to install it on your Lightroom program which is pretty darn straight forward. Just click open on the download file and follow the instructions and let VSCO do the work for you.
Once you have that downloaded, the presets will now appear on the left hand side of your Lightroom Develop panel. To get started it's as simple as choosing an unedited photo that you think looks great, and cycling through the presets to determine which one will suit.
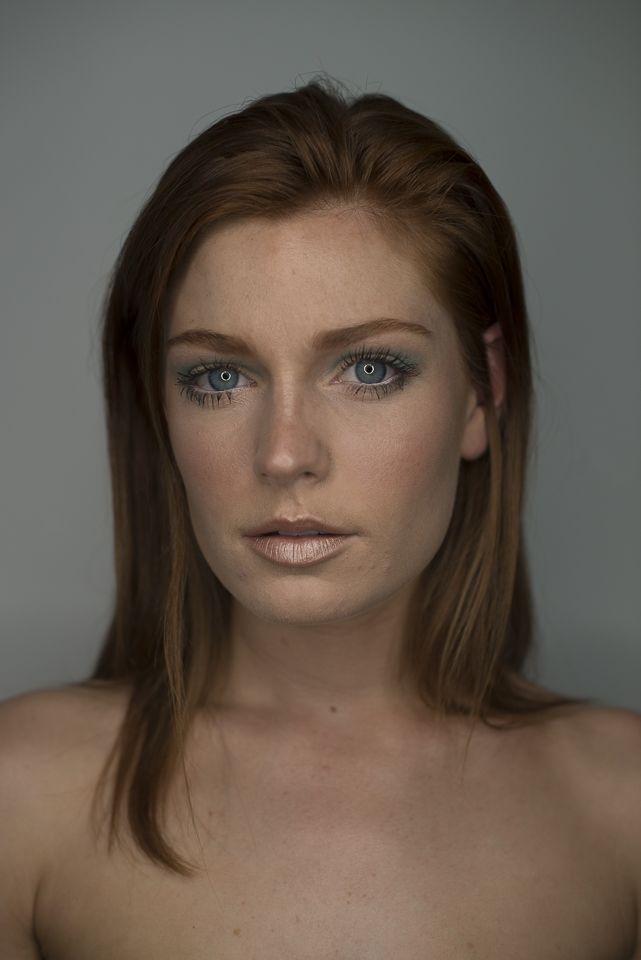
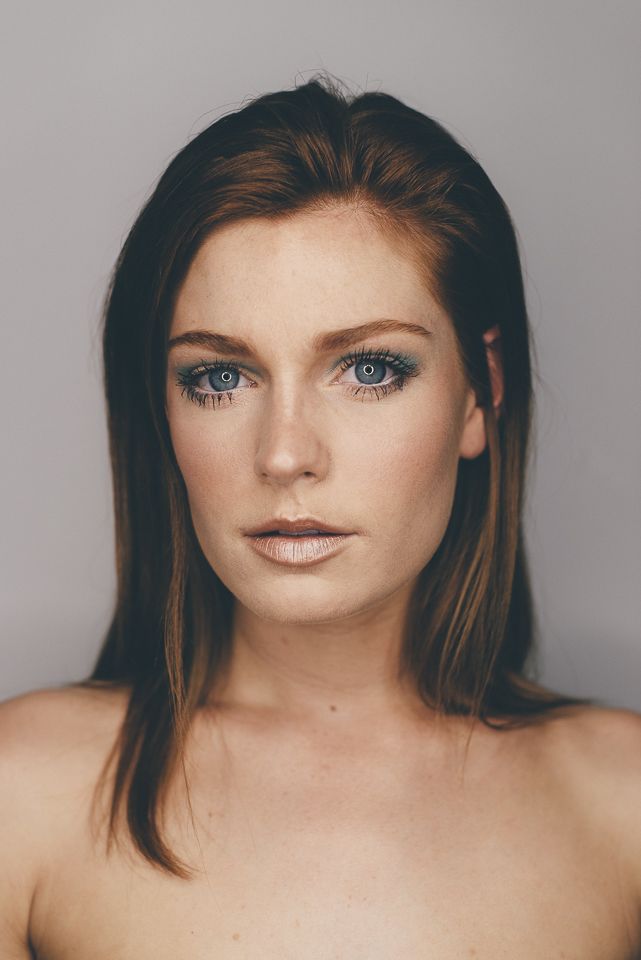
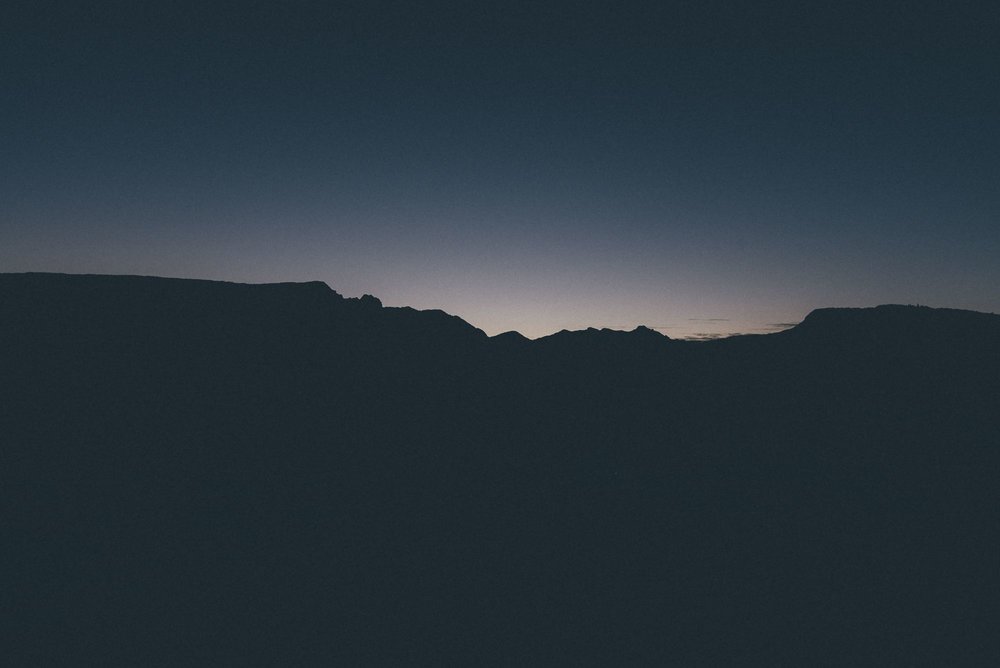
I tend to have a few core favourites, you will undoubtedly develop your own. What's important to remember with VSCO is that it's non destructive and works in harmony with Lightroom. For example I tend to use TriX film preset which has a lovely grainy edgy aesthetic with photos that bode well for black and white, however I almost always tone down the grain level which is simple to do with your current develop settings in LR. Below is probably my favourite image ever taken and edited with VSCO. The shadows were dramatically reduced, both on the sliders and with the brush tool - which will be discussed on a separate future post.

When you first start you may go a bit overboard with the presets, but you'll soon learn to use them correctly and tone them down where needed. Here are some more before and after shots to feast your eyes on.
Don't hesitate to get in touch directly for in depth tips on how you can improve your skillset in Lightroom & VSCO or alternatively make sure you subscribe to the blog below.
Thanks again, and don't forget to get out and get shooting!
Jonny x